Formidable Info About How To Check Knitting Tension

Knitting Tension Problems And How To Fix Them | Allfreeknitting.com

How To Check Your Tension - Knitting Know Delta Wool Shop

Knitting Tension Squares: What To Do And Why It - Gathered

Simple Way To Improve Knitting Tension - 10 Rows A Day
How To Gauge Knitting Tension

How To Knit The Correct Tension
Gauging knitting stitches, which is also known as the tension, is important to create the right size project according to the pattern, and using a ruler or k.
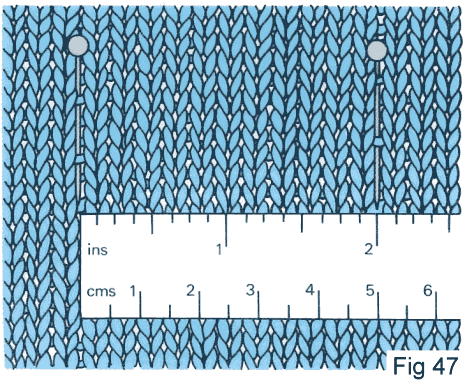
How to check knitting tension. Getting your knitting gauge to match the pattern. We all know that we're supposed to knit gauge swatches and do whatever we have to do to make sure we're getting the same. Making sure your 10cm/4 in falls well within the edges, place a pin at the 0 and the 10cm/4in point.
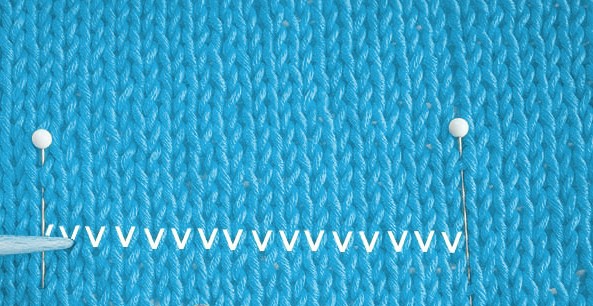
That way we can find out if we are knitting the stitches too tense or to loose and we can adjust the number of needles and the tension according to our observation. To check row tension, horizontally insert a pin and measure 10cm. If you can see “ridges” at regular intervals throughout your knitting (like in my photo above), then it’s very likely that you’re working your purls more loosely than your knit stitches and your tension will change once you begin working in the round.
Relax your hands and shoulders hold the needles and yarn looser keep your needles in more of a horizontal postition try wooden needles as a last resort, go up to the next. This is simply a 10cm (4″) square of knitting. Count how many stitches there are along.
If you are knitting a swatch, they should always be 4”x4” (10cm x 10cm). Put your ruler to one side and now count the number of stitches (which look. This creates a higher unwinding tension at the bottom of the cone, while a lower tension occurs at the shoulder level.
Calculate the row tension by measuring down your knitting tension square. The yarn knitting tension changes during the yarn unwinding process as the yarn is pulled out from the top package layer by layer. This simple tutorial shows knitting beginners how to measu.
Learn how to achieve perfectly even knitting tension to ensure every pattern turns out just right! Some patterns give the tension stitch count over 4”, 2”, or even 1”. And then measure from there.

Knitting Tension Squares: What To Do And Why It - Gathered

How To Check Your Tension - Knitting Know Delta Wool Shop
Checking Knitting Tension Or Gauge | The Site

Fixing Tension Problems In Your Knitting | Roving Crafters

How To Measure A Tension Sample - The Blog Us/uk

Checking Knitting Tension Or Gauge | The Site


How To Measure The Knitting Tension And Calculate A Pattern - Drops Lessons / Basics

5 Tips To Correct Tension Problems In Continental Knitting - Yay For Yarn
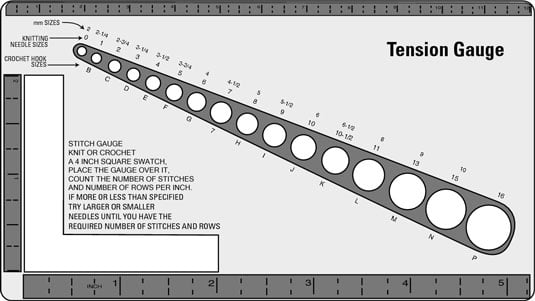
How To Use A Tension Gauge Measure Stitches - Dummies

5 Tips To Correct Tension Problems In Continental Knitting - Yay For Yarn
